Honey oak had a good run. For about two decades it was in every builder-grade kitchen in Douglas County. Now homeowners want it gone — or at least white. Cabinet painting is the most efficient path, but it's also the job with the highest failure rate when corners get cut. The wood grain telegraphs every shortcut.
Here's how a proper oak-to-white cabinet refresh actually goes.
Why Oak Is Its Own Problem
Oak has an open, pronounced grain. Run a cheap primer over it, topcoat it, and you'll see every ridge through the finish. That's not a paint problem — it's a prep problem. The process exists specifically to deal with grain, grease, and the factory lacquer or conversion varnish that's already on the surface.
Step 1: Pull the Doors and Number Everything
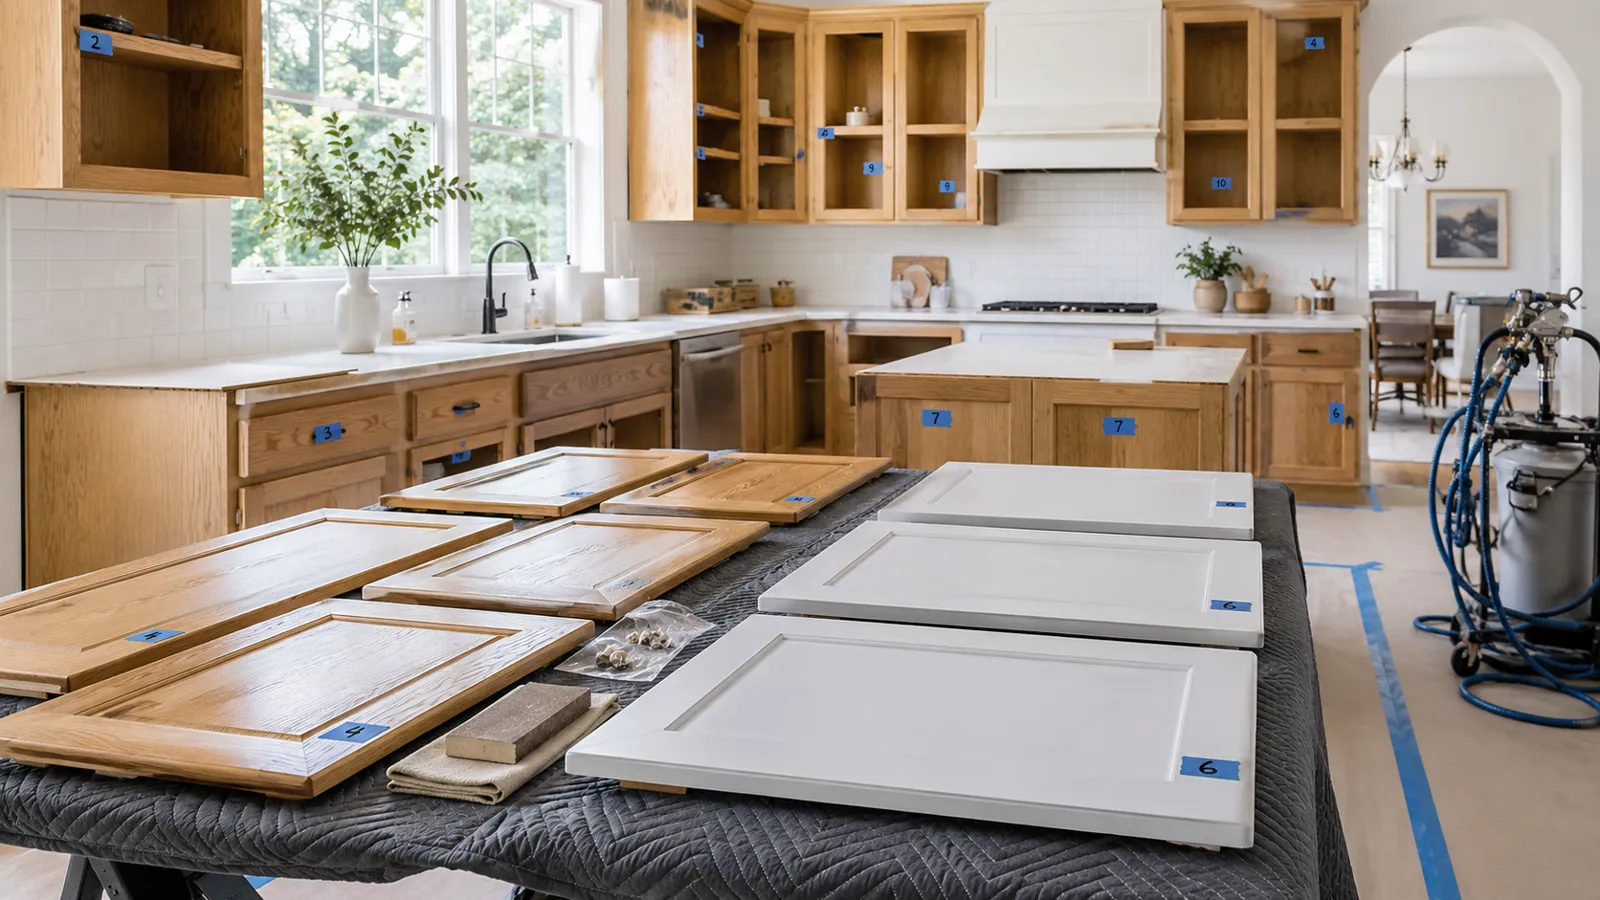
Before a single drop of chemical touches anything, every door and drawer front comes off and gets numbered. The number goes on the inside edge and on the corresponding cabinet box with painter's tape. This sounds obvious. Skip it and you'll spend an afternoon at the end guessing which door went where — and gaps will tell the story.
Hardware gets bagged and labeled with the same number. Hinges too, unless the homeowner is upgrading them.
Step 2: Degrease
Kitchen cabinets are coated in years of cooking grease and airborne oil. You can't see most of it. A heavy degreaser — something like a TSP substitute or a dedicated cabinet prep solution — gets scrubbed into every surface, front and back of the doors, all the face frames. Rinse, let it dry completely. If you prime over grease, the finish will peel. It won't peel the first week. It'll peel in six months when someone's trying to figure out why.
Step 3: Sand and De-Gloss
The factory finish on oak cabinets is designed to be hard and durable. That's exactly what makes it a poor substrate for a new coat. The surface needs mechanical abrasion — usually 120-grit — to give the primer something to grip. This is called de-glossing, and it's not optional. You're not removing the old finish; you're roughing it up so the bond primer has a chance.
After sanding, every surface gets wiped down with a tack cloth to remove dust. Dust under primer is another common reason cabinet jobs fail.
Step 4: Bond Primer
A high-adhesion bond primer goes on next. This coat's only job is to stick to a surface that doesn't want to be painted. It bridges the gap between the slick factory finish and everything that comes after.
Step 5: Fill the Grain with Glazing Bondo
This is the step most DIYers skip, and it's the one that separates a furniture-quality finish from something that looks painted. After the bond primer dries, a skim coat of glazing Bondo — a lightweight automotive body filler — gets applied over the oak grain and any small dings or imperfections. It spreads thin, dries fast, and sands smooth. Once it's flat and feathered, you've effectively erased the wood grain.
Sand again. Tack cloth again.
Step 6: Two Coats of Primer
With the grain filled, two full coats of primer go on — typically a high-build primer that continues to level the surface. Light sanding between coats. By this point the door should feel smooth under your hand, not like wood at all.
This is also the stage where any remaining imperfections become obvious under raking light. A trouble light held at a low angle will catch any ridge or pit that needs another pass of filler. It's worth taking the time here. What you see at this stage is roughly what you'll see in the final finish.
Step 7: Spray Two Coats of Topcoat
The doors go into a spray booth environment. Spraying — rather than brushing or rolling — is what gives cabinet finishes their smooth, factory look. Brush marks and roller stipple are nearly impossible to avoid on flat panels; a spray gun eliminates both.
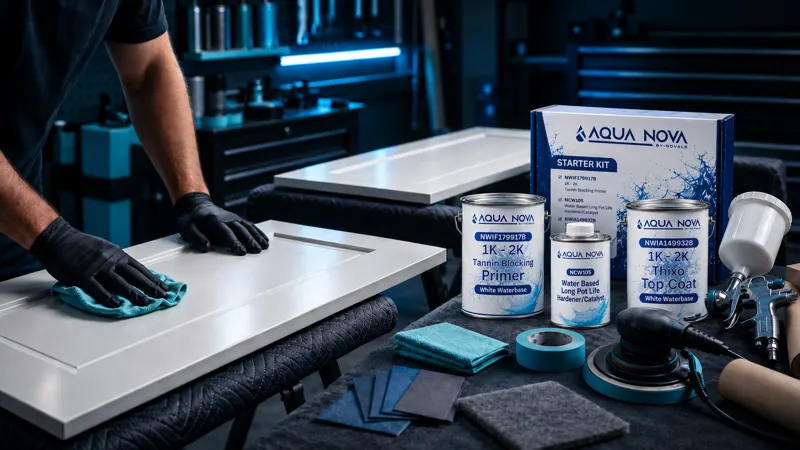
The topcoat used in a quality cabinet job is a finish engineered for cabinetry specifically — something that cures hard and holds up to cleaning. Novalk is one product used for this application, sprayed in two coats with proper flash time between them. The sheen level is typically satin or semi-gloss — enough to be wipeable, not so much that every fingerprint shows.
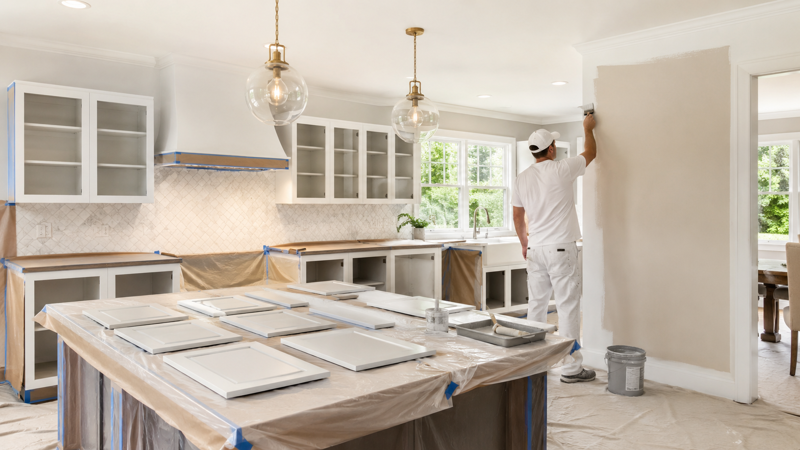
The boxes — the frames still on the wall — get brushed and rolled by hand while the doors are off. Cutting in around the interior edges takes patience, but the face frames don't need the same level of spray finish because they're not as exposed.
Step 8: Re-Hang and Walk Through
Doors go back on in the order they came off. The numbering system pays off here. Hinges get adjusted for alignment — cabinet doors shift over years and the old hinge positions may need tweaking. Hardware goes back on, or new hardware gets installed.
Then a walk-through with the homeowner. Every door, every drawer. Look for any chips from re-hanging, any drips, any spot that needs a touch-up. Better to catch it under good light with everyone present than to get a call two weeks later.
Is It Worth It vs. Replacing?
New cabinets in a comparable kitchen run $15,000–$40,000 or more once you factor in installation, countertop removal, and the rest. Cabinet painting is a fraction of that and uses the boxes and layout you already have. If the box structure is solid, painting makes a lot of sense.
The finish isn't identical to new cabinetry — it's paint, not a factory-applied conversion varnish — but done correctly, it's durable, cleanable, and visually indistinguishable to most people in daily use.
What to Look for in a Painter
Ask whether they spray in a controlled environment or spray in place. Ask about their primer system and whether they fill grain. Ask how they handle the boxes while doors are off. The answers will tell you quickly whether you're talking to someone who has done this a hundred times or someone running a standard wall-painting operation.
You can see examples of finished cabinet work in our portfolio and read what homeowners in the area have said on our reviews page.
If you're ready to talk through your kitchen specifically, we're happy to take a look. Get a free estimate for cabinet painting — no pressure, just a straight conversation about what your project actually involves.